Floor plan setup
If you have a floor plan you can use with the setup, great! It's optional, but fully recommended to set it up. If you do not, you can always upload and configure your floor plan later.
Introduction
Floor plans differ in detail and size, but their most important properties are accuracy and scale. If you don’t have a floor plan of the space you’ll be positioning in, it’s vital that the floor plan you will create has proper dimensions.
As an example, this is the floor plan of the Pozyx office. You can clearly see the different rooms, and the furniture details add a nice touch to compare the tags' positions with.
If you bought your device before April 2018, this would be a good time to update the firmware on your devices by following the firmware update instructions. If you think your devices are very old, please contact our support first.
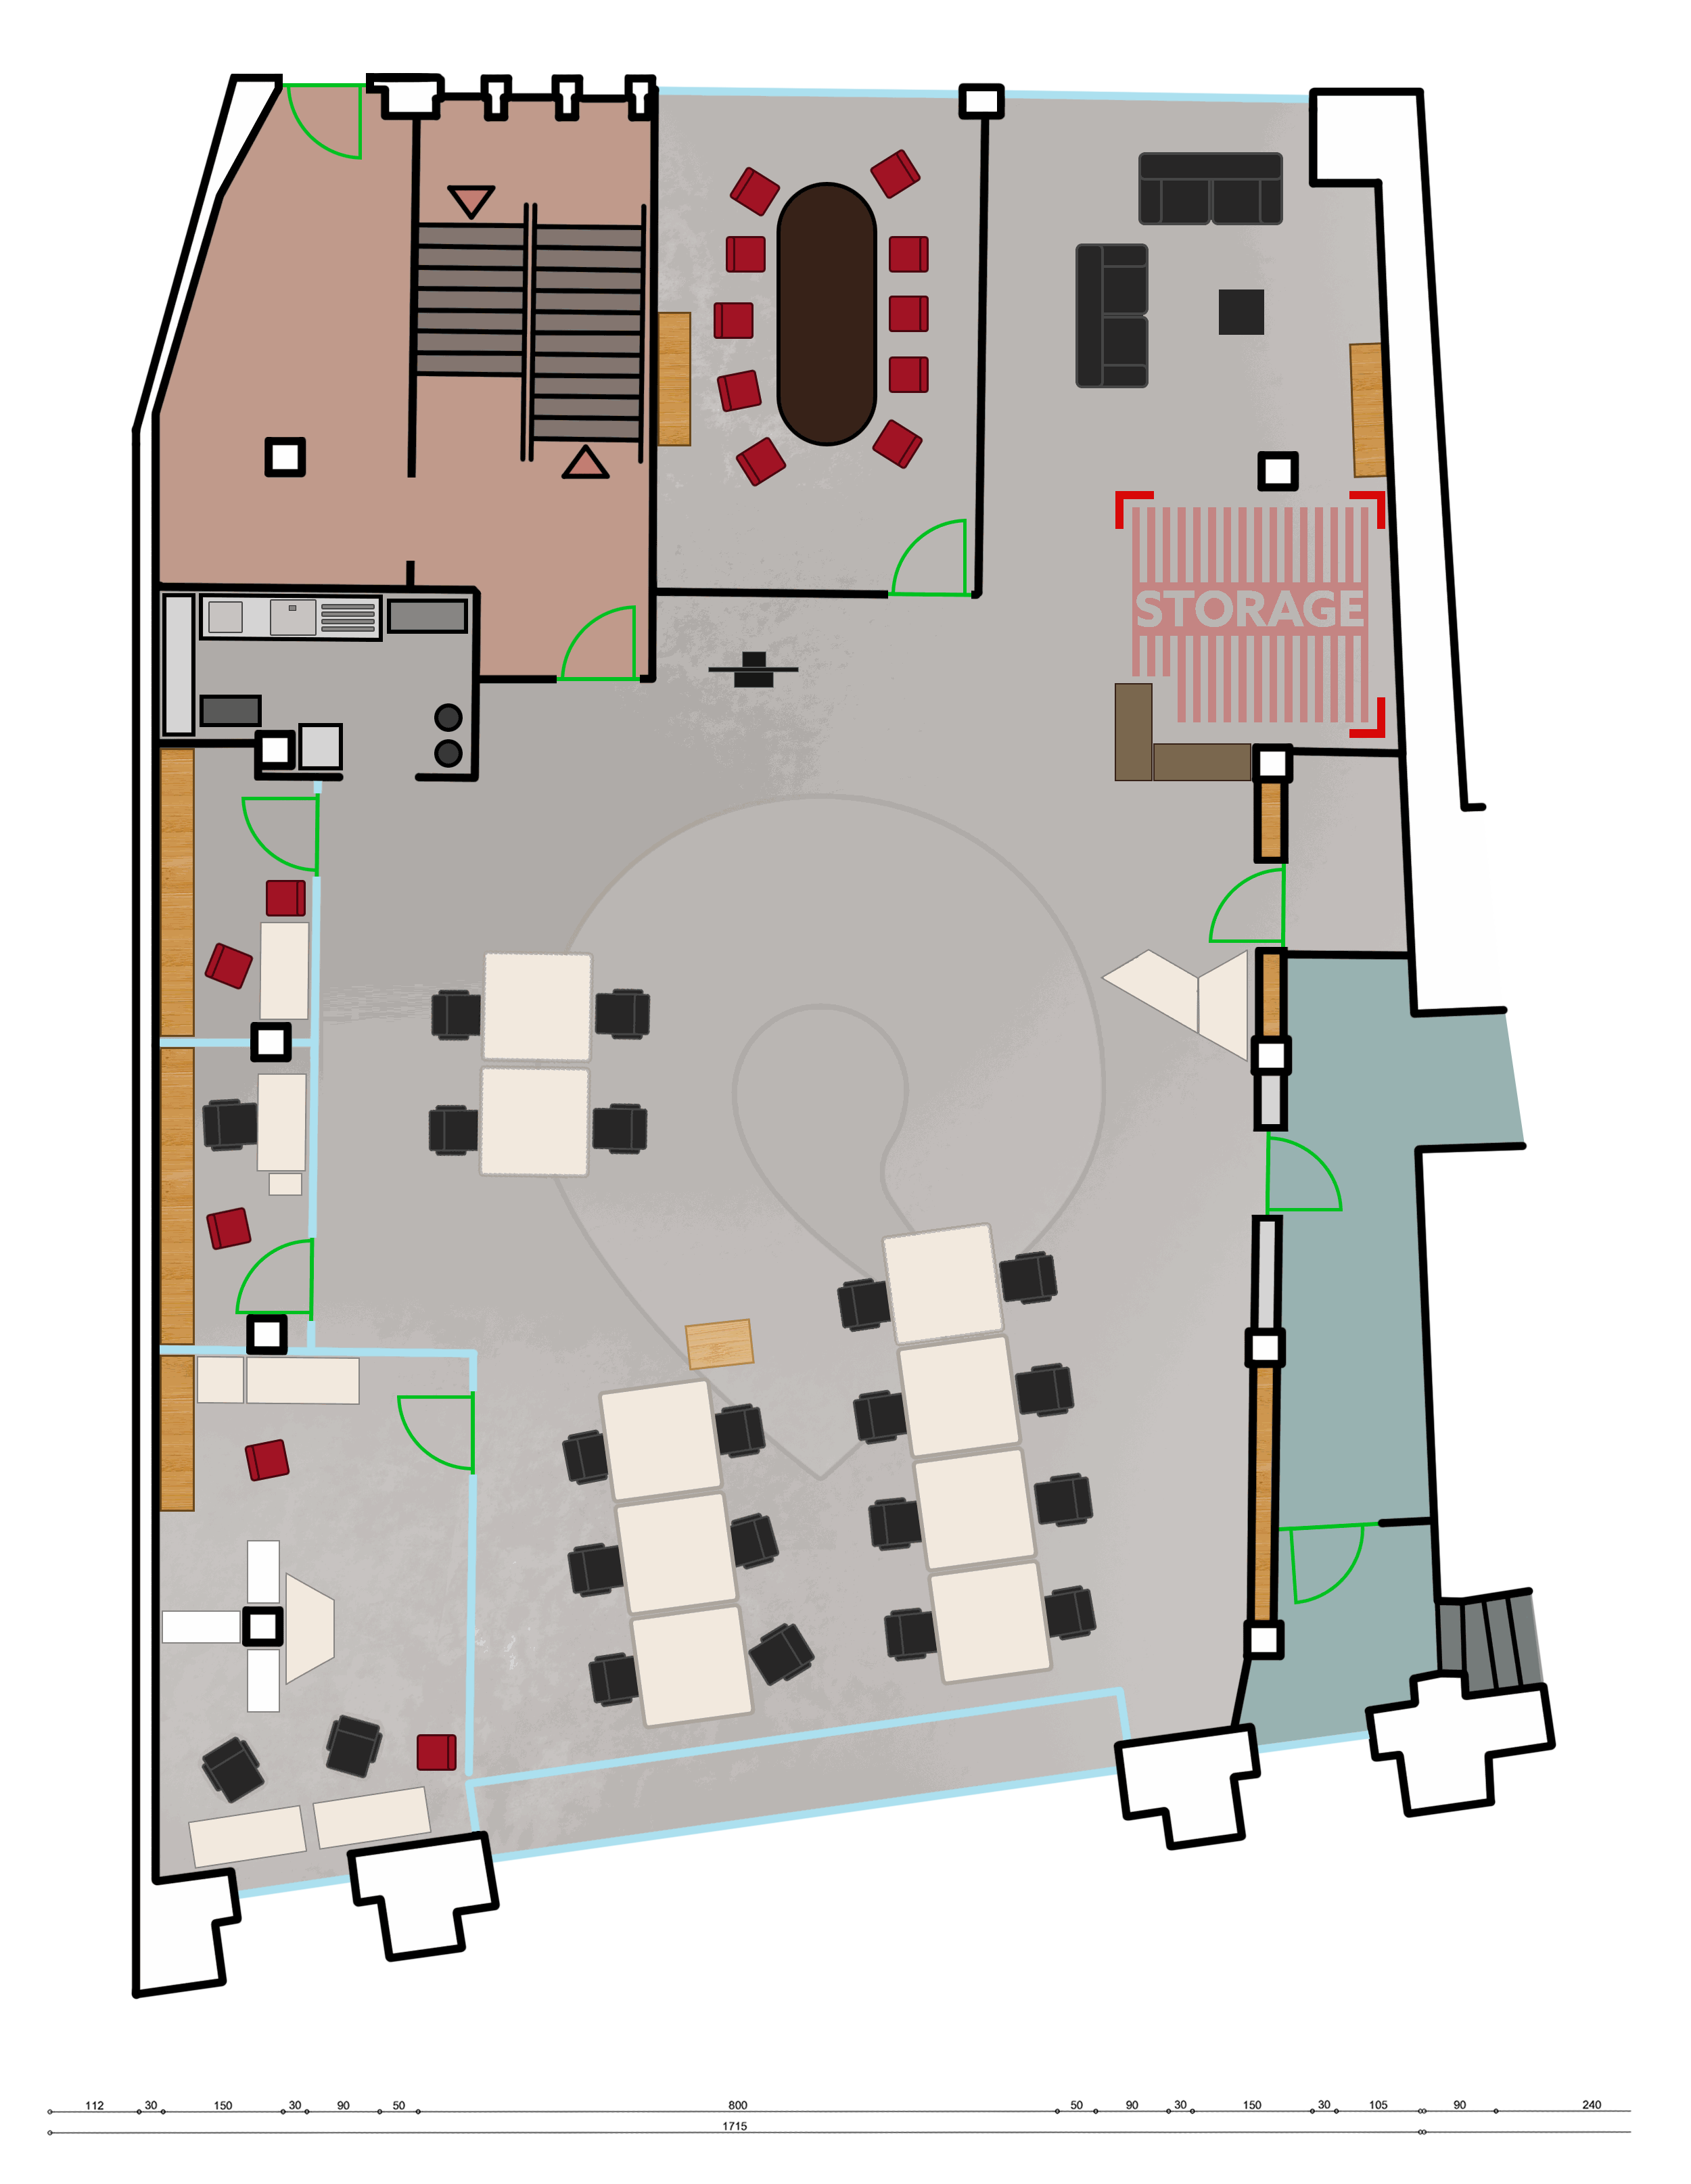
All distance measurements necessary to create this floor plan have been made with a laser measurer, and you can see the real life dimensions in the floor plan at the bottom of the image. We will be using this to scale the floor plan to match the coordinate system in the visualization, so it’s very important to have at least one reference distance on the floor plan.
Uploading the floor plan
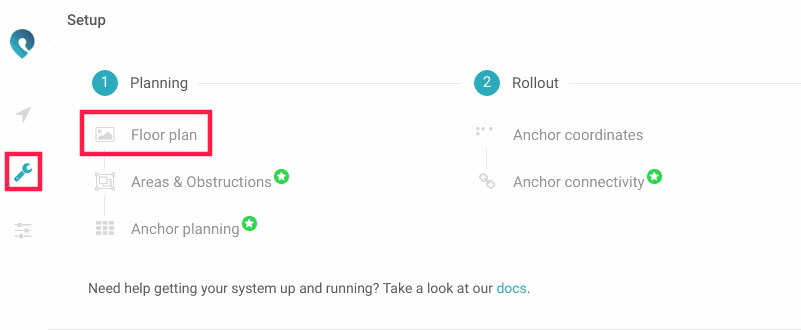
To configure the floor plan in the Creator Controller, please navigate to the ‘Floor plan’ section of the Setup page, found under the Planning category.
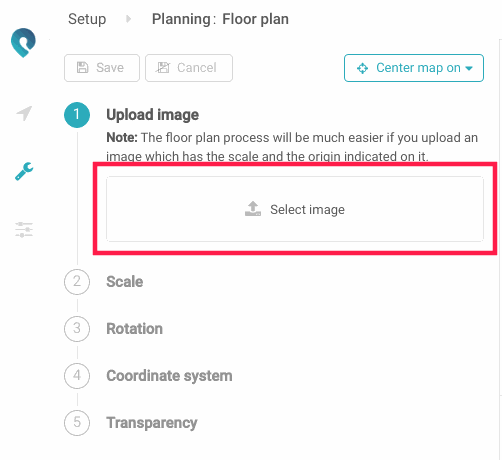
You can upload any JPEG, PNG or GIF in the Creator Controller. In the tutorial setup, we will upload and configure the Pozyx office floor plan.
Matching the floor plan
After uploading the floor plan image, you need to configure it have the same dimensions as the visualization. When you’ve uploaded the image, it will be pretty small and will likely need to be scaled and repositioned. After the floor plan has been configured the way you want, and you already have anchors set up, you can finely match the anchors against the floor plan in the ‘Anchor coordinates’ window.
It’s very recommended to watch the video to see the process in action.
Scale
By far the most important operation is scaling the floorplan. For this, you need to mark two points on the floorplan and scale the floorplan using one of two methods.
Distance: this is the easiest method, and needs you to know the distance between the two points you marked. After filling in the distance and pressing scale, you’ll see that the two points will now be this distance apart, and the floor plan will be scaled to match this distance.
Coordinates: this second method is great when you know two of the coordinates on the map. After filling in the coordinates of both points, the floor plan will not only have been scaled, but also rotated to match the coordinates. If you have pre-existing coordinates in which you want to use Pozyx, you should use this method.
Rotation
If you need to rotate the floor plan, you can do this in the third step. You can manually enter an angle, or rotate the floorplan using the handles.
Coordinate system
The coordinate system is editable, but it’s important to know why. Not all floor plans are made equal, and some have a different coordinate system. This way, instead of flipping the floor plan and possibly flipping the text on it, you can change the coordinate system to match the one in your floorplan.
For most floor plans, the default coordinate system will be the right one.
Transparency
If you have a floorplan that limits the view of the Pozyx visualization by, for example, being the same color as ranges, anchors, or tags, it may be nice to lower the transparency.