Defining zones
In order to add some context to the floorplan you can define zones on your floorplan using polygons. Three types of zones are supported:
Positioning area: These are zones in which tags can be located. They are used to filter out positions that fall outside of them.
Obstruction: These are zones in which tags can NOT be located. They are used to filter out positions that fall inside of them.
Trigger area: These are zones which are used for zone information and triggers. Whenever a certain event happens inside the defined zone, a notification can be send to the user via a webhook. More information about configuring these events can be found here. Trigger areas are also the zones used in the Analytics.
Define a zone
To define a zone:
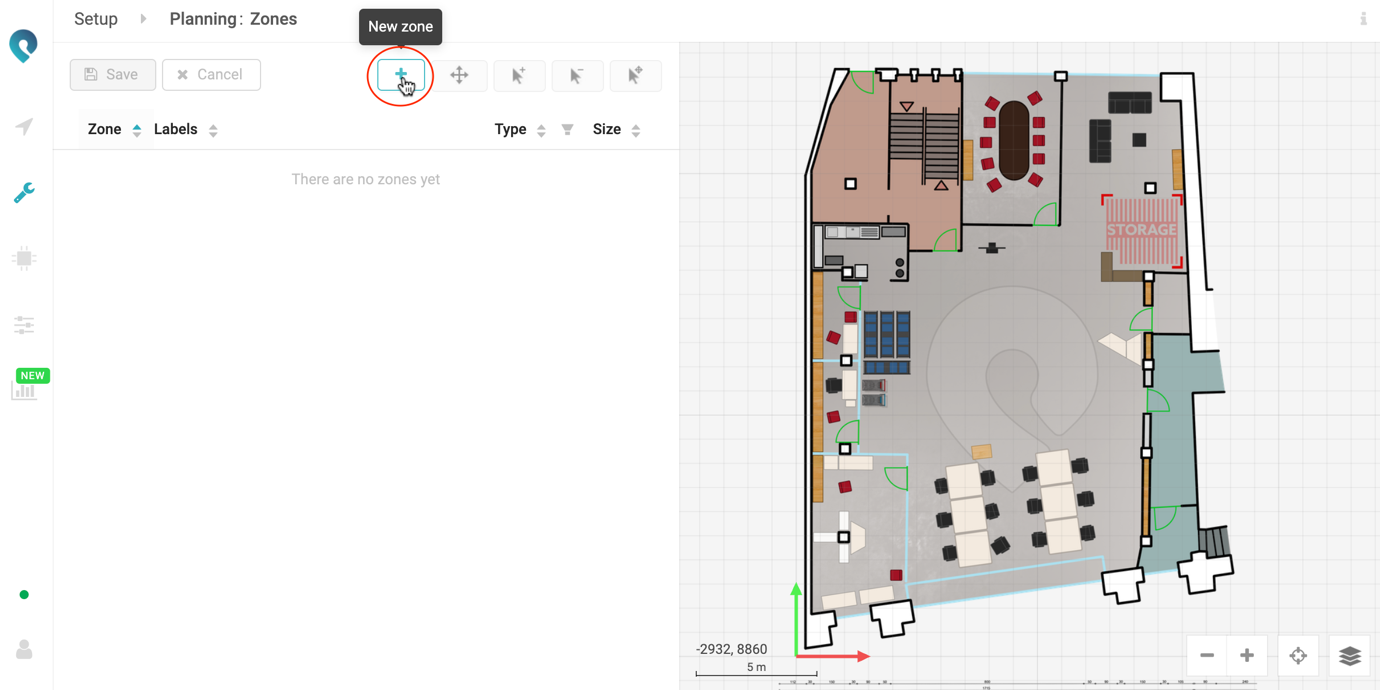
Click on the New zone button:
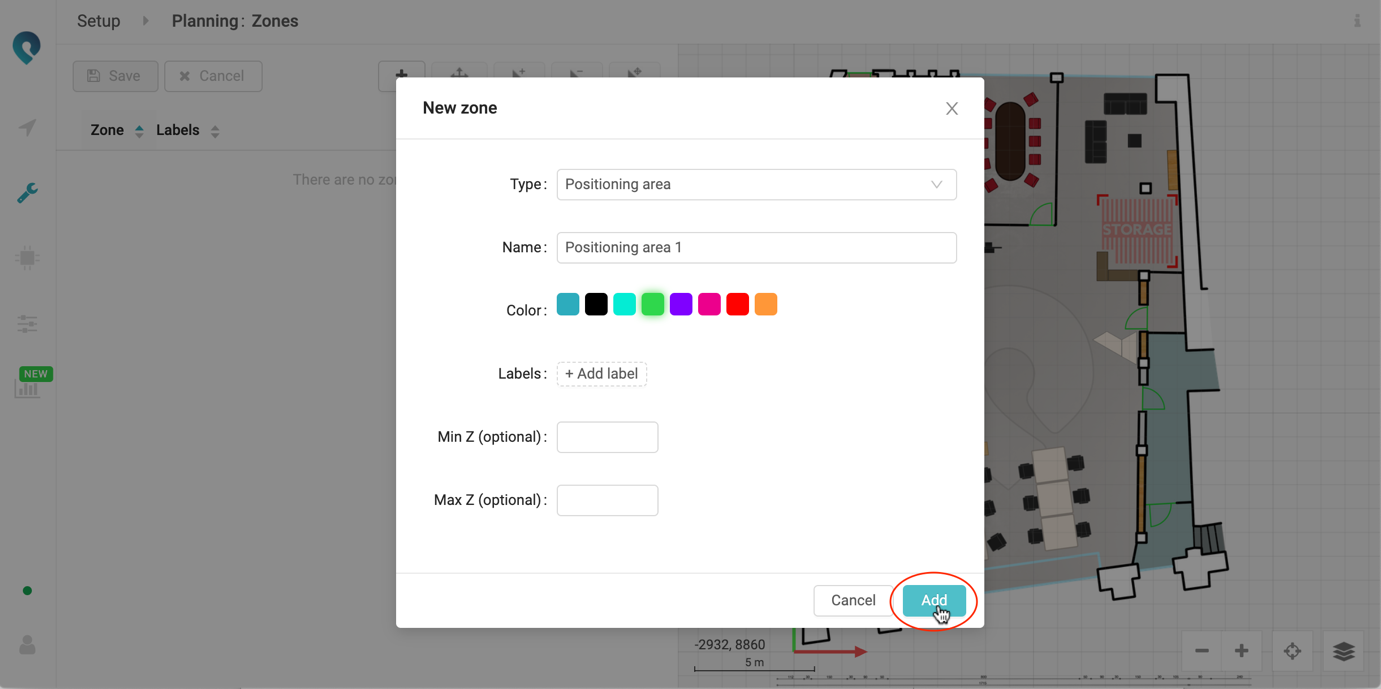
Select the Type, choose a Name and Color1 , and optionally add some Labels2 , a Min Z3 and a Max Z3. Click Add:
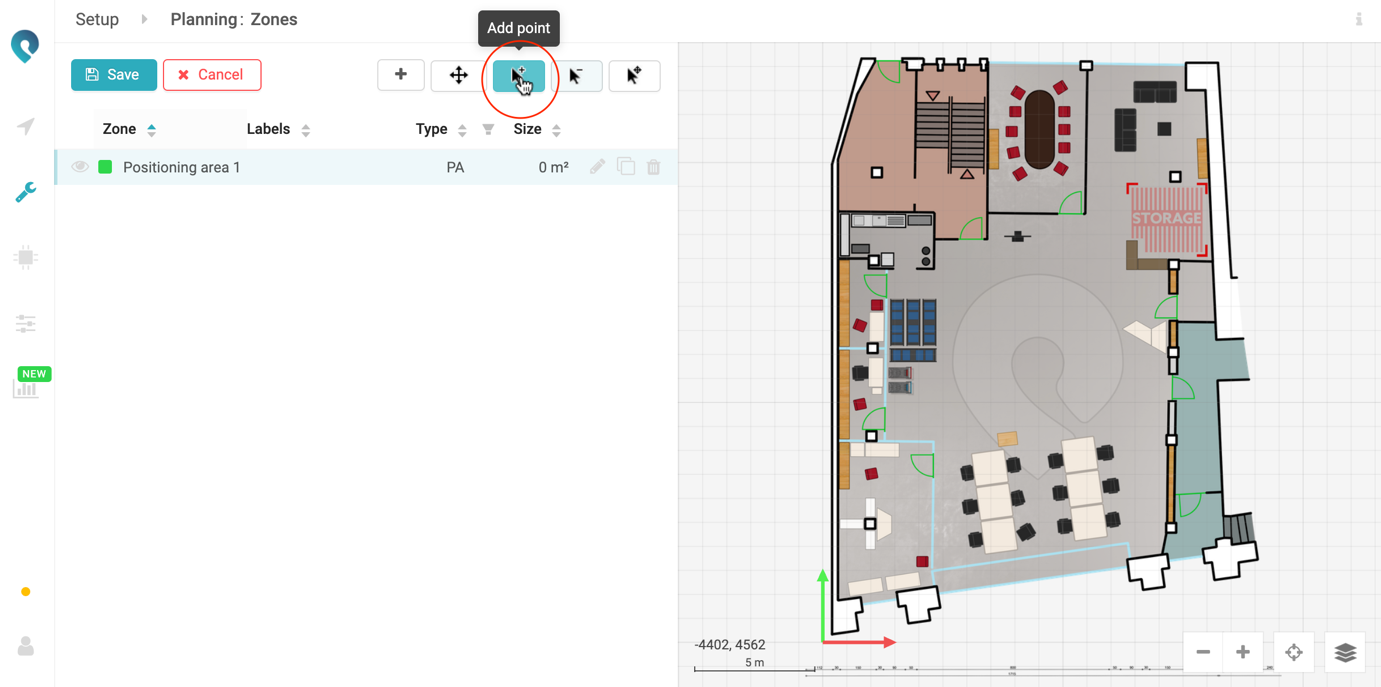
After clicking the Add button the zone will be created and the Add point tool will be selected:
You can now add points on your floor plan to define the polygon of the zone. While drawing you can zoom in and out on the floor plan by scrolling. You can move around (pan) by holding the SPACE key and then clicking on your floor plan and dragging it. After defining your polygon, the size of your zone will be displayed: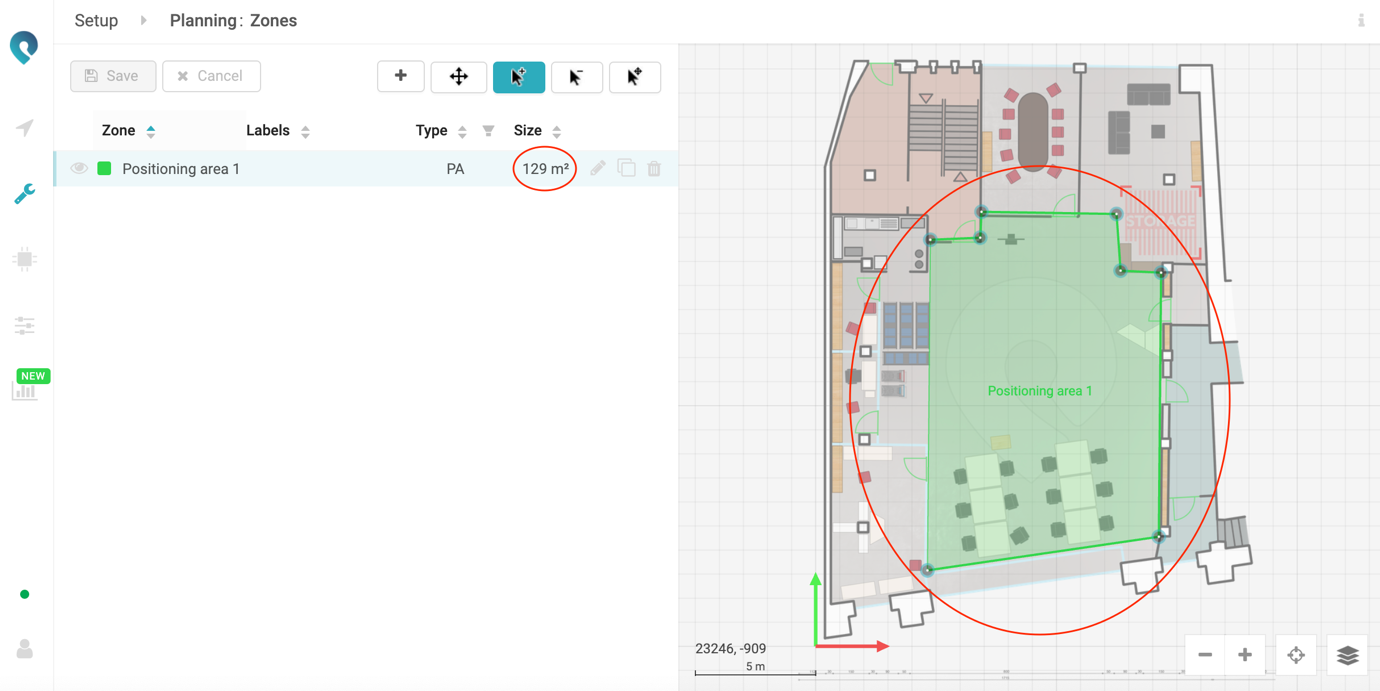
If you want to remove a point from your polygon, select the Delete point tool, and click on the point that you want to remove.
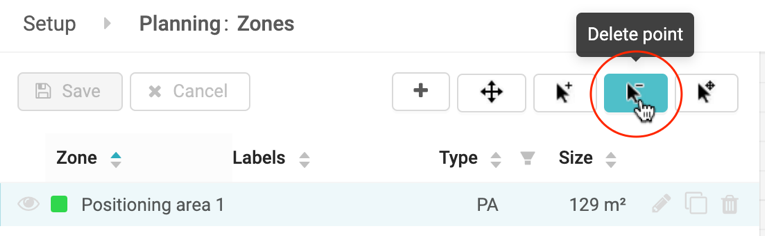
You can also remove a point by having the Add point tool selected, holding the SHIFT key, and then clicking on one of your points. When you hold the SHIFT key you will see the selected tool switching to the Delete point tool. When you release the SHIFT key, the selected tool will switch back to the Add point tool.
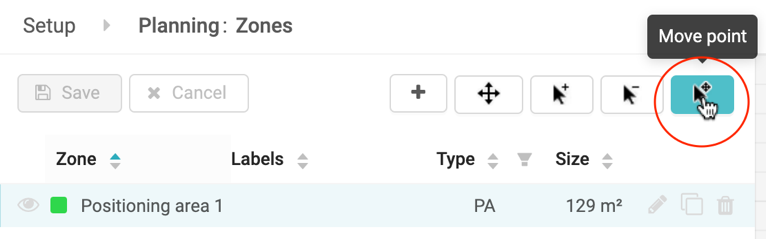
If you want to move a point of your polygon, select the Move point tool, and click and drag the point that you want to move.
When you’re ready, save your zones by pressing the Save button.
Tips
You can select a zone by clicking on the zone in the zone table or be clicking on it on the floor plan . When a zone is selected the background of the zone in the table will change to light blue and the other zones will be greyed out on the floor plan.
Only when a zone is selected you can edit it on the floor plan (move it around, add points to the polygon, delete points from the polygon & move points of the polygon). At the moment it is not possible to scale or rotate a zone.
To deselect a zone, click again on the selected zone in the zone table.
You can hide or show zones by clicking on the Eye icon in the zone table.To deselect a zone, you can also press Escape
Copy a zone
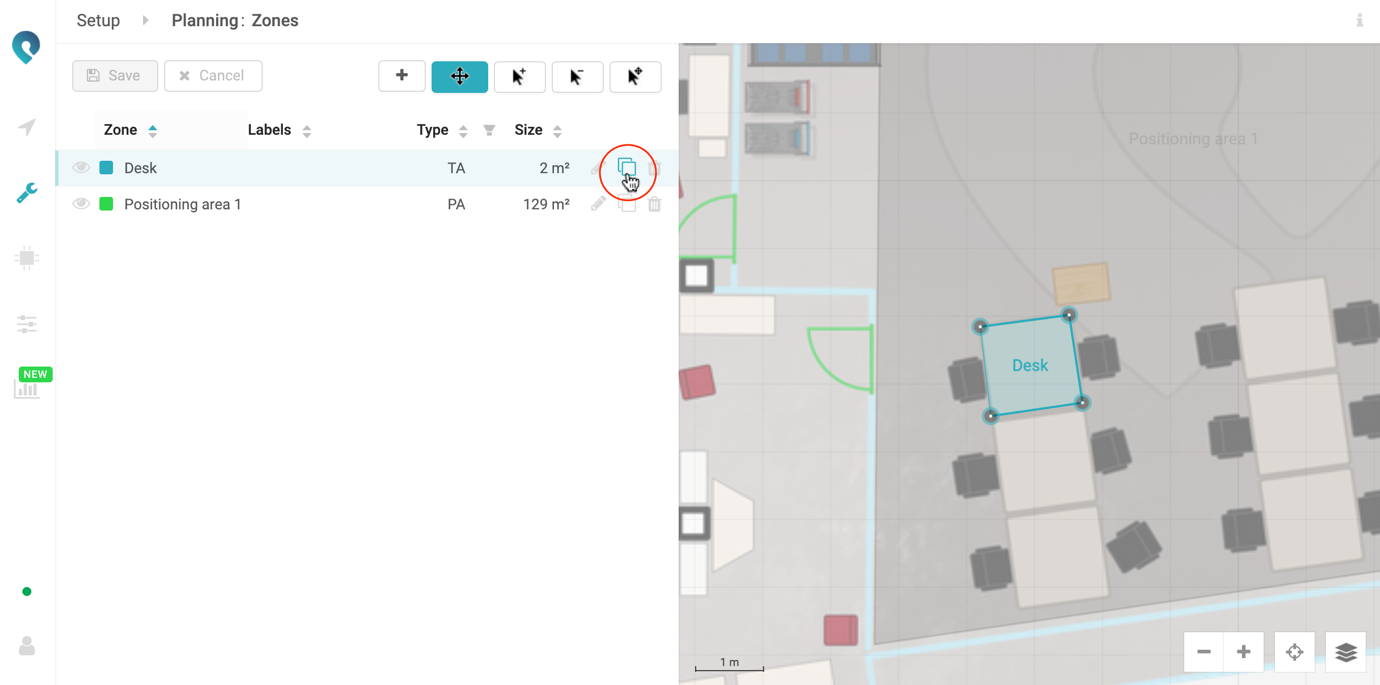
It is also possible to copy zones. This can be convenient when you have multiple zones with the same shape. To copy a zone:
Press the Copy zone button:
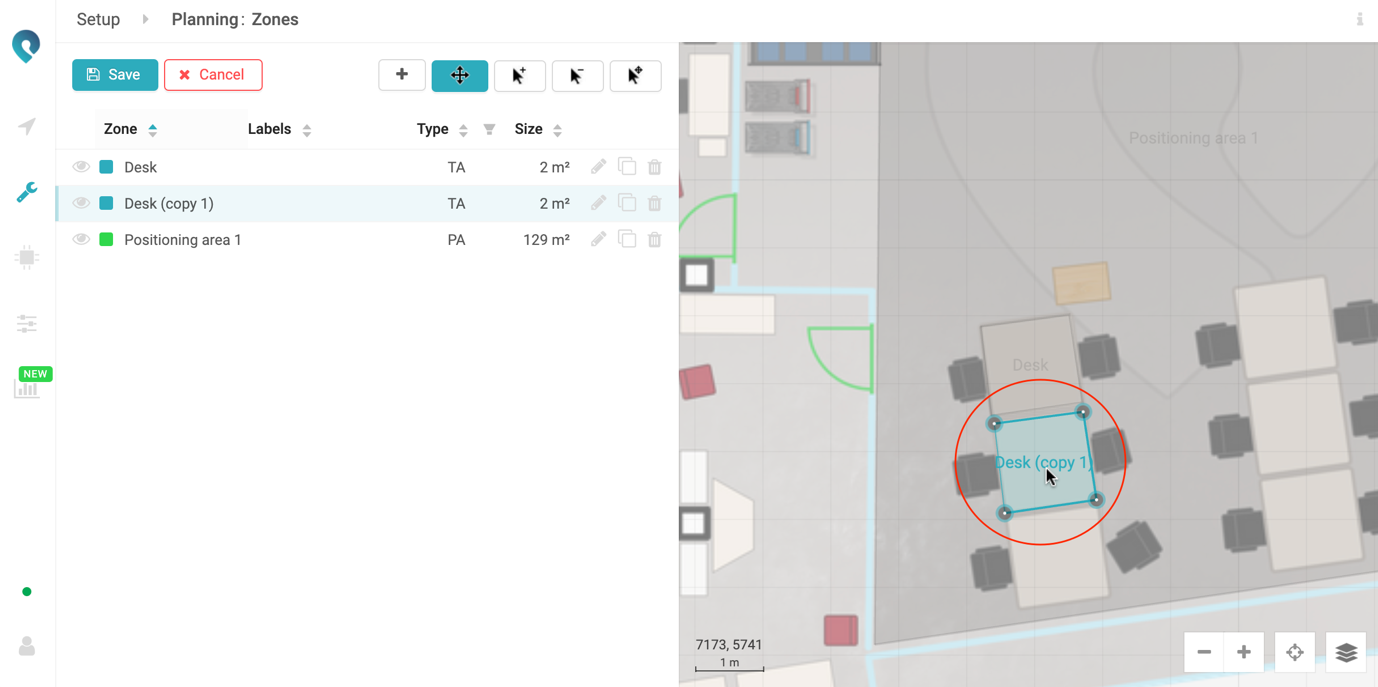
Make sure the new zone is selected and select the Move zone tool:
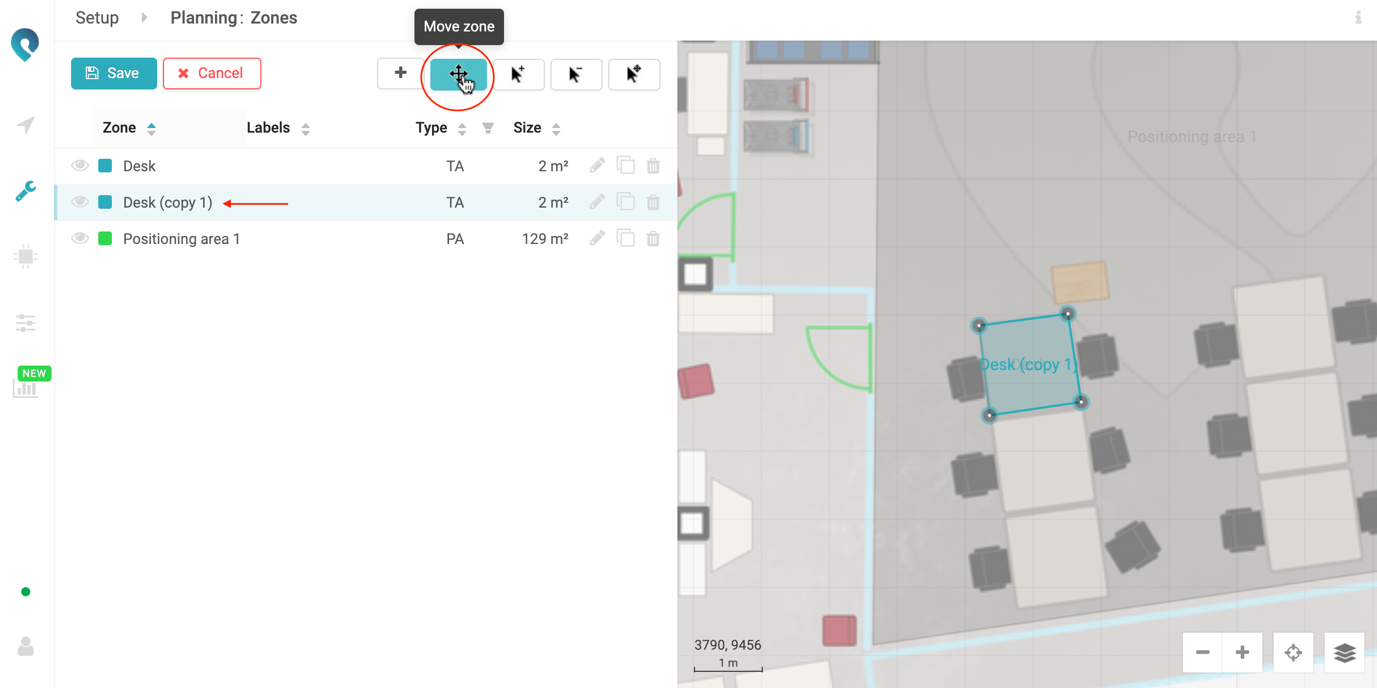
You can now move your new zone around on the floor plan:
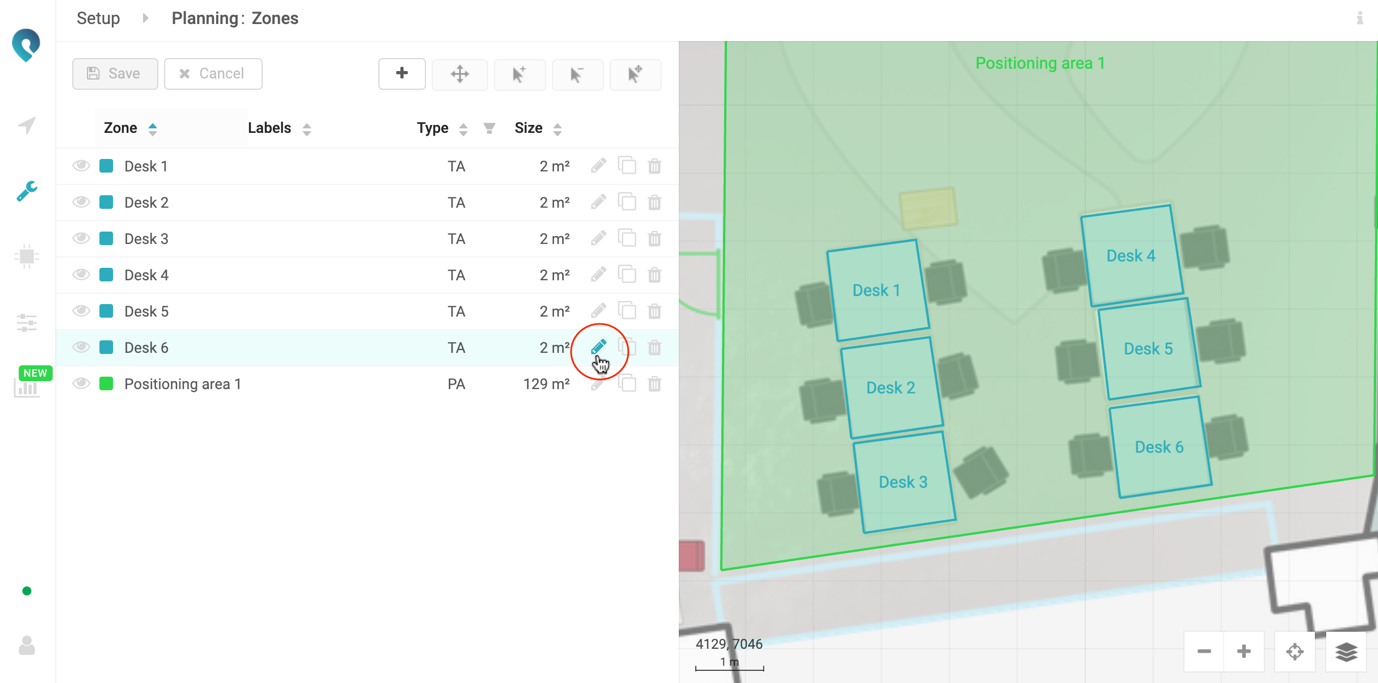
Repeat the process as much as needed. You can change the name by pressing the Edit zone button:
1 The default colors are:
Green for a Positioning area
Red for an Obstruction
Blue for a Trigger area
2 Labels are used to group zones in Pozyx Analytics. More info about this can be found in our Analytics documentation.
3 The Min Z and Max Z can be used to give a floor and ceiling to your zone. This can be useful in 3D environments. E.g. if you have a storage room with multiple levels and you want to define a separate (trigger) zone for each level.