Virtual tags
The Virtual Tags module lets you combine several real tags into one virtual tag. Doing this will not only give you a more accurate position for the object you want to track, but it will also give you the orientation. This module can be activated for free by creating a ticket on http://support.pozyx.io.
Configuration
As an example we will equip several AGV's with 4 tags each (1 tag on each corner of the AGV) and position the center of each AGV by means of a virtual tag.
Step 1: Blueprint
The first step is to create a blueprint of the layout of the tags on the AGV. Go to the Virtual tags page in the webapp (https://app.pozyx.io/settings/virtual-tags) and click on Add device type. Enter a name for the blueprint and specify how many tags you will place on each AGV:
Name: AGV
Number of tags: 4
Click on Next and define where the tags will be placed on the AGV, in general we recommend placing the tags as far from each other as possible for the best results. A minimal working distance would be approximately 30 centimeters. Remember, we want to position the center of the AGV and we will place the tags on the corners. The point that will be positioned eventually is point (0,0,0) of the blueprint and the heading is the x-axis. The AGV is 1 m x 1 m. Thus, the tags will be placed as follows:
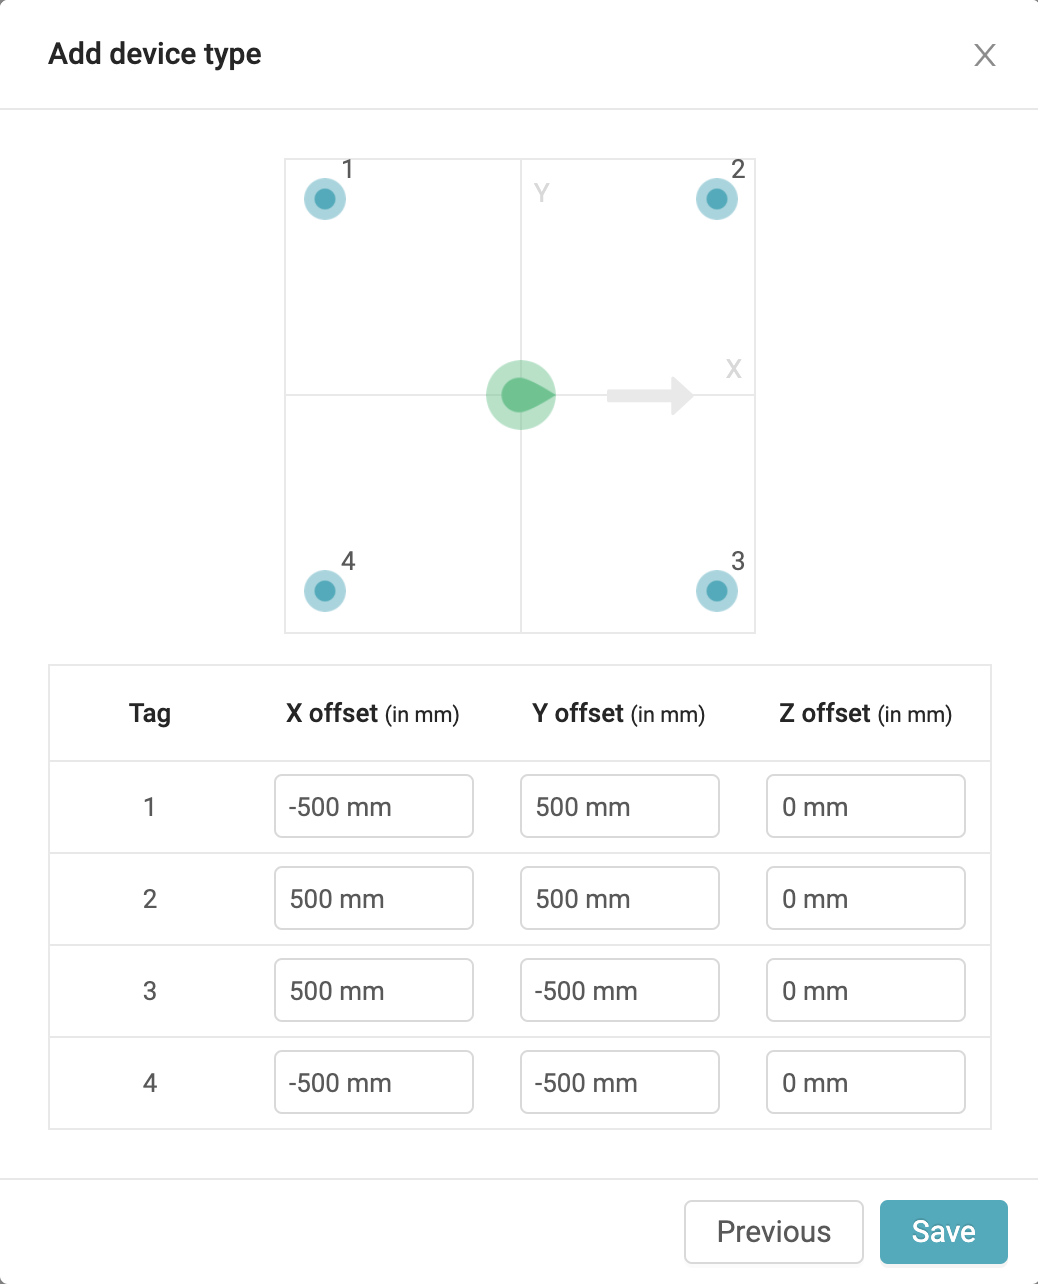
Click on Save to save the blueprint.
Step 2: Adding devices
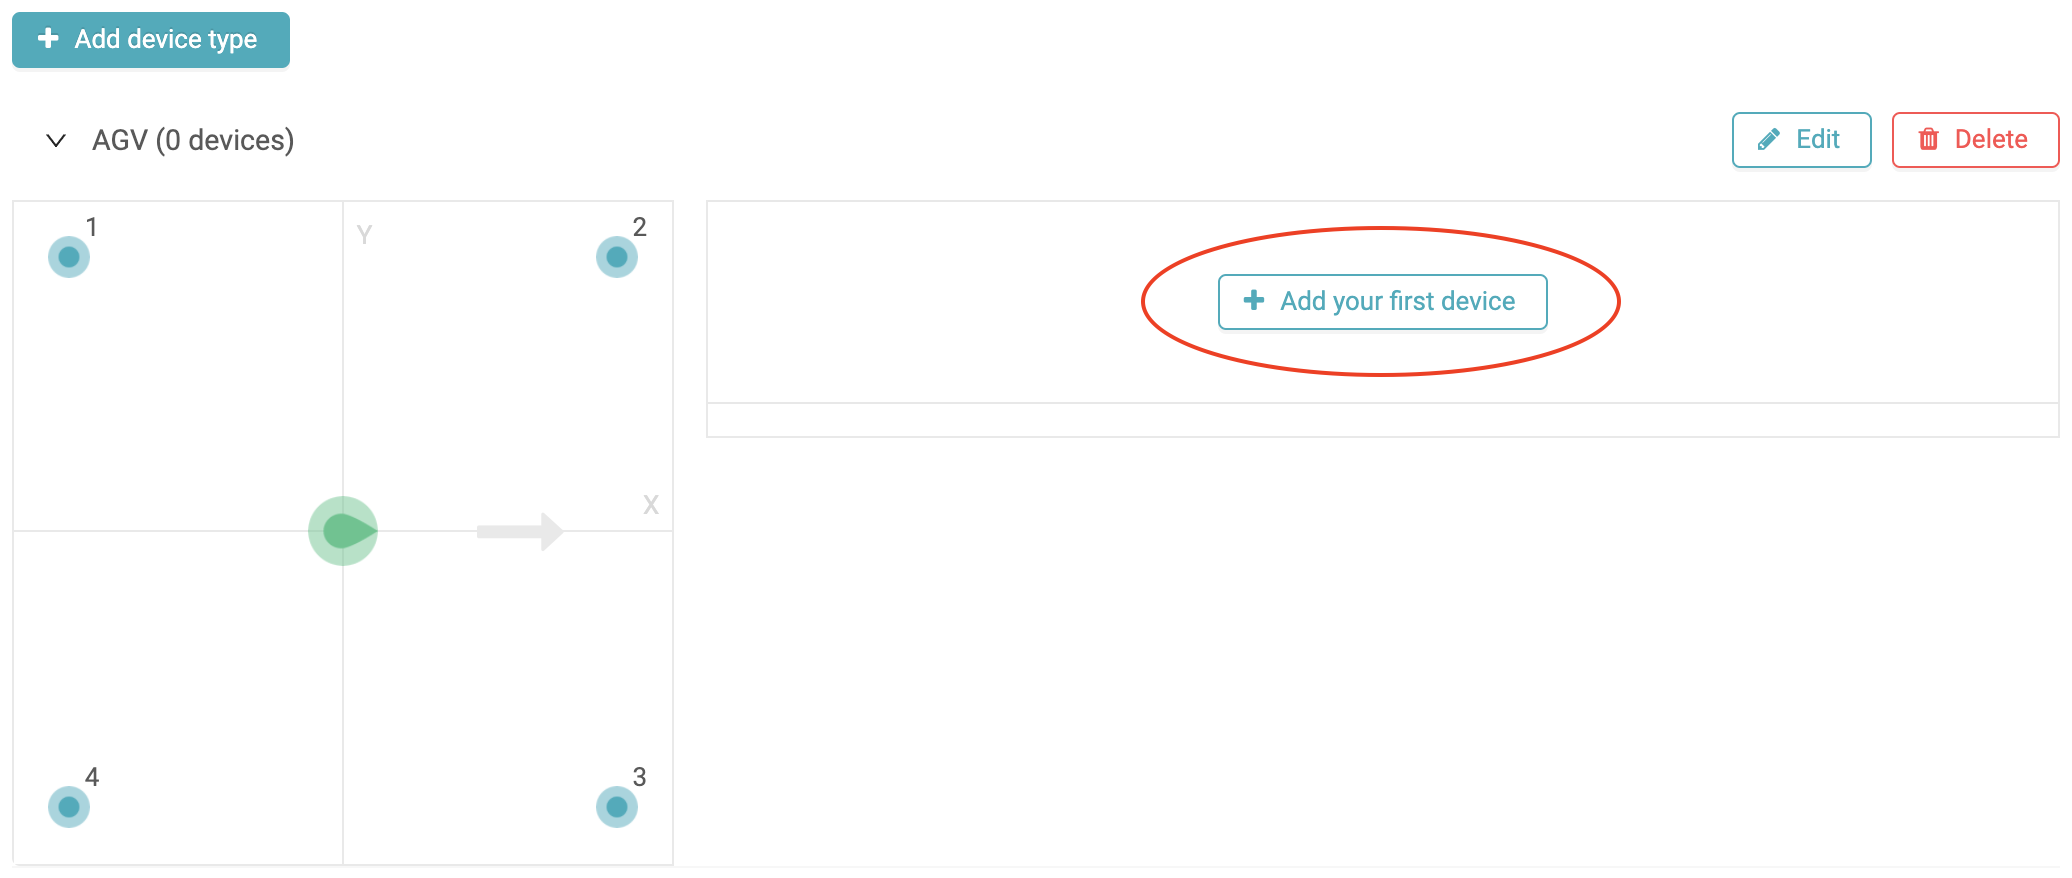
Once the blueprint of the AGV is created we can create instances of it. Click on Add your first device to create the first AGV:
And specify the ID's of the tags that you have placed on the AGV:
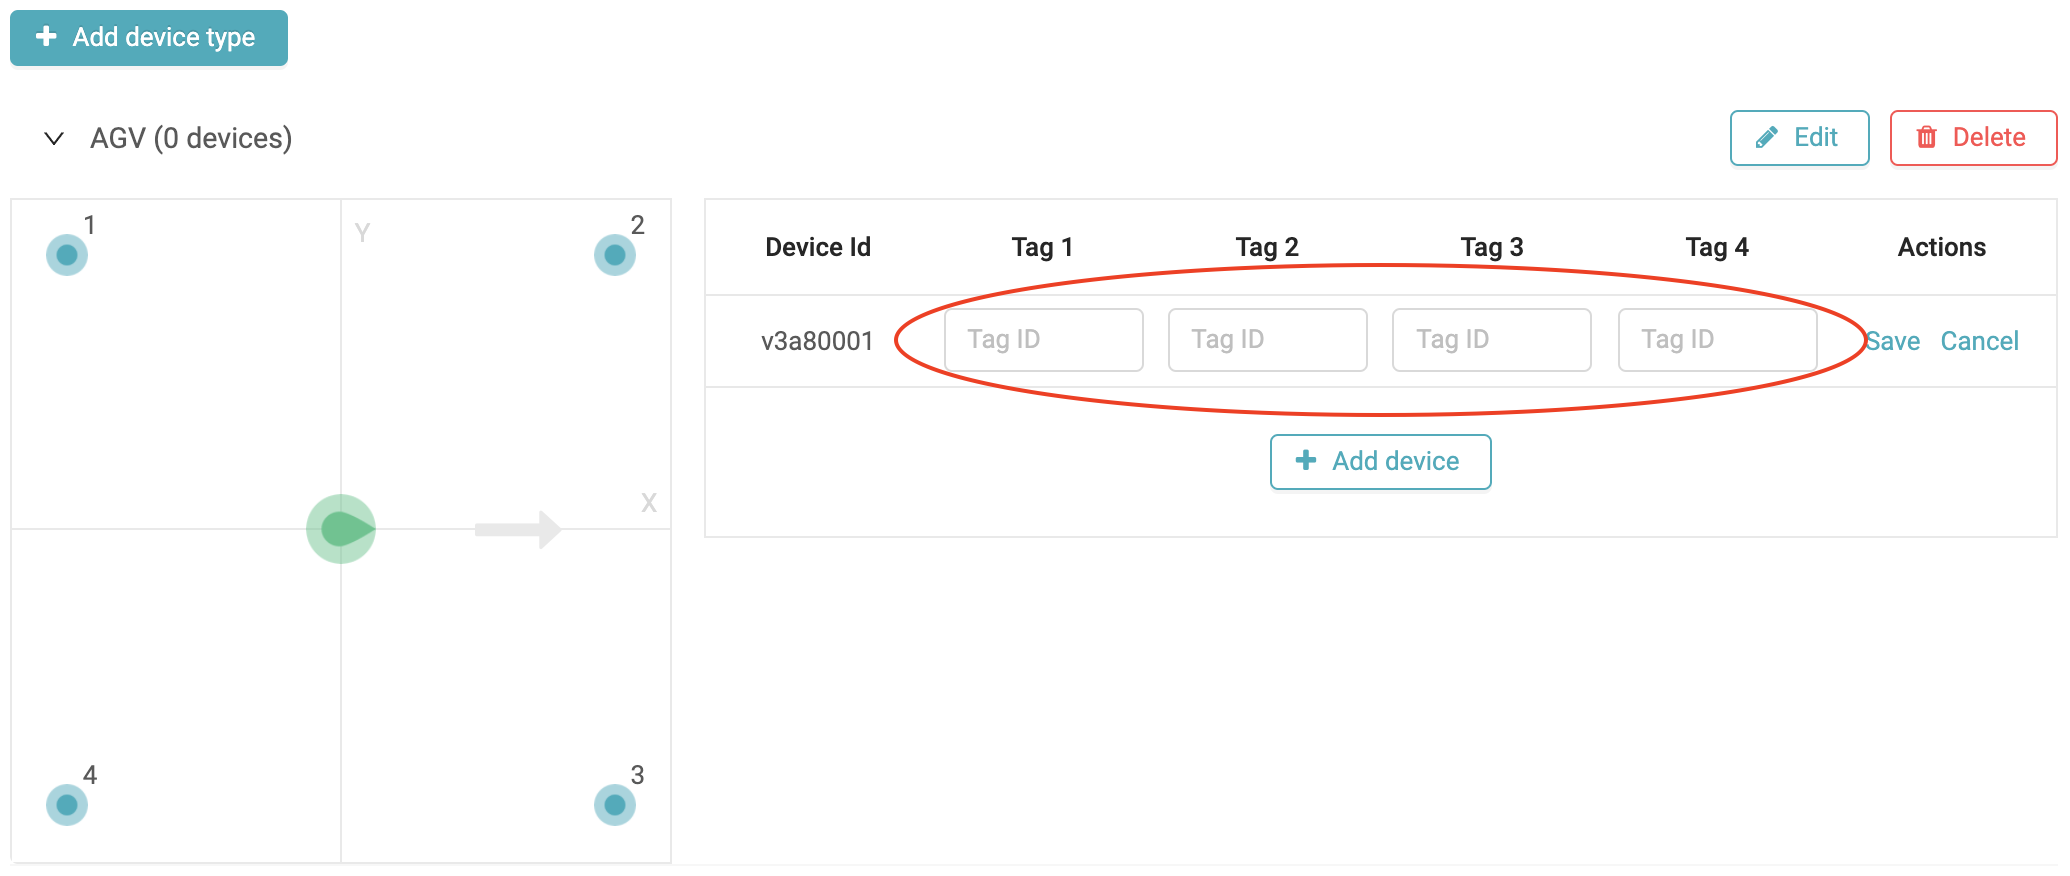
Tag 1 is the tag placed on the back left corner of the AGV (as shown on the blueprint of the AGV), tag 2 is the tag placed on the front left corner, etc...
Press Save to save the tag ID's and to add a second AGV:
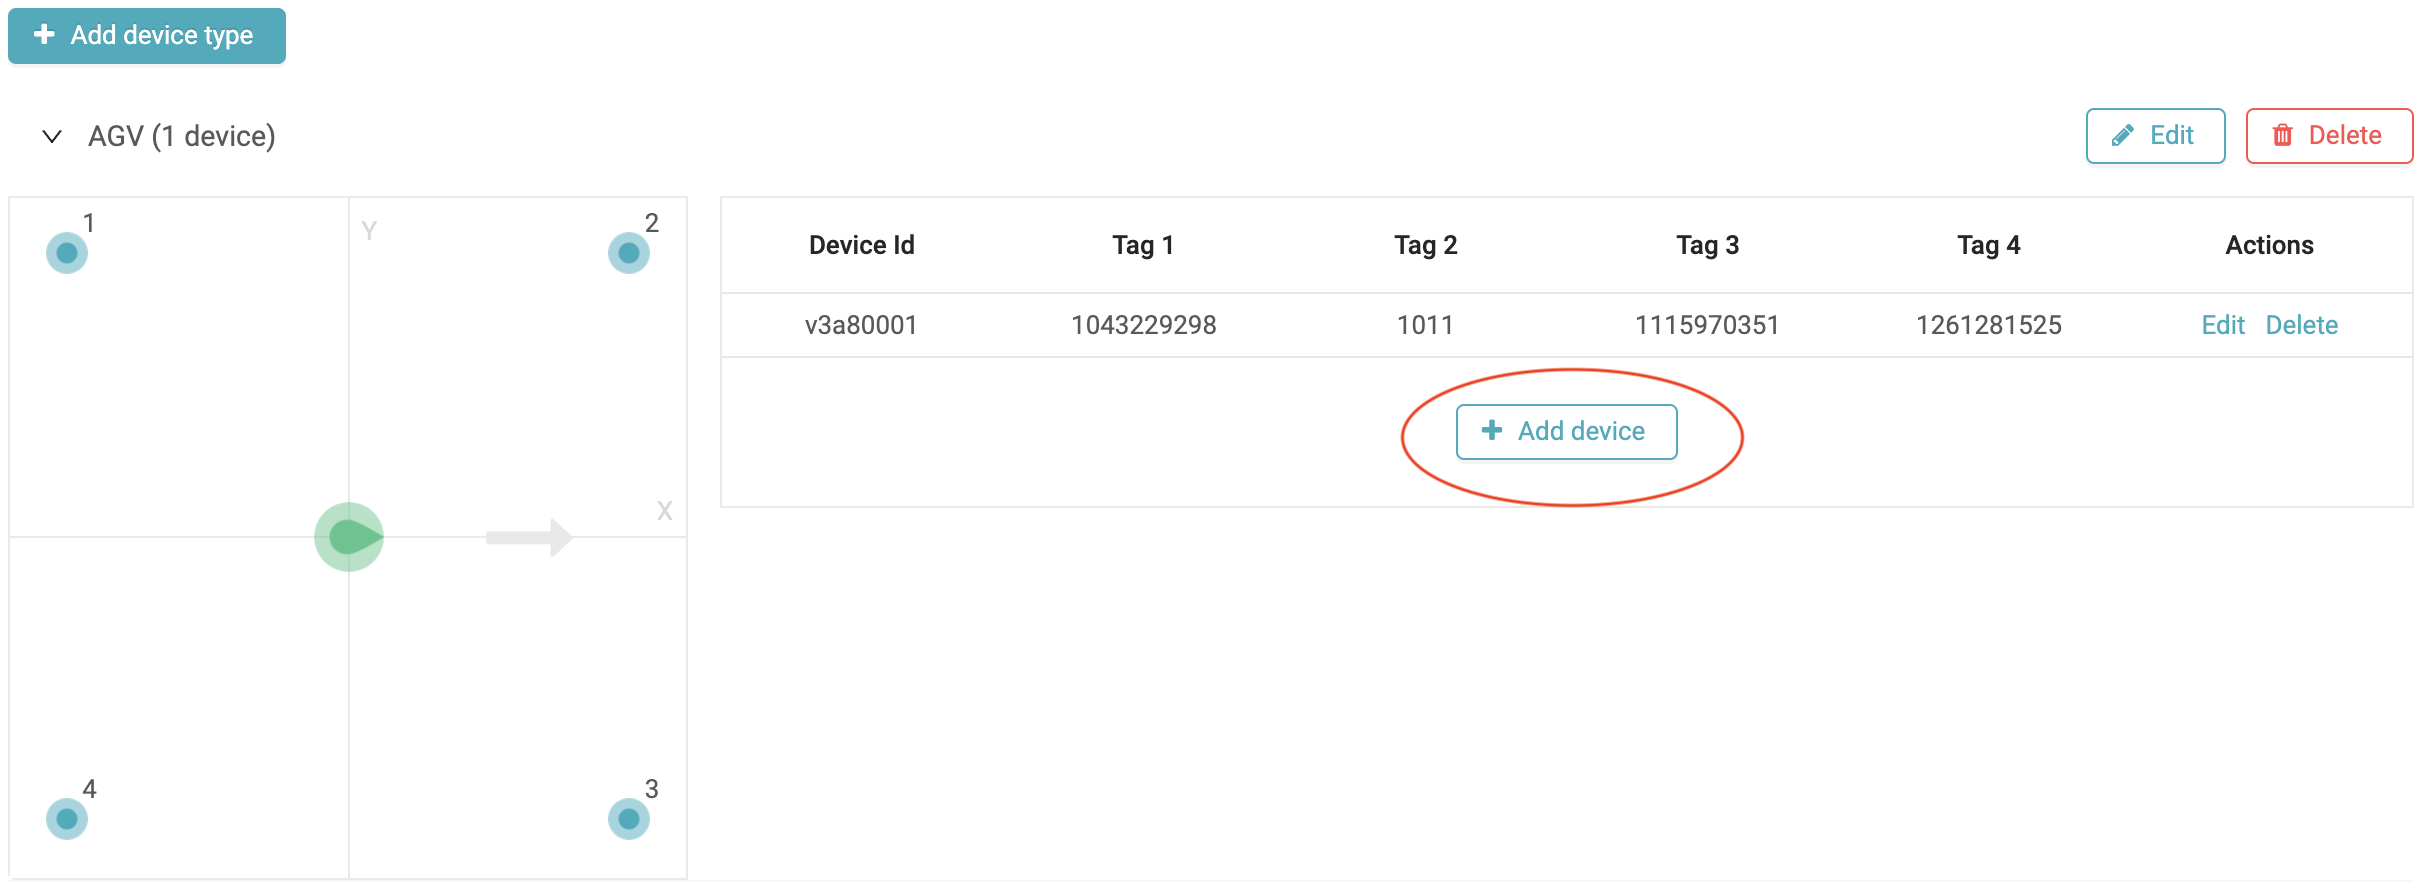
Repeat this process for all your AGV's.
Step 3: Positioning
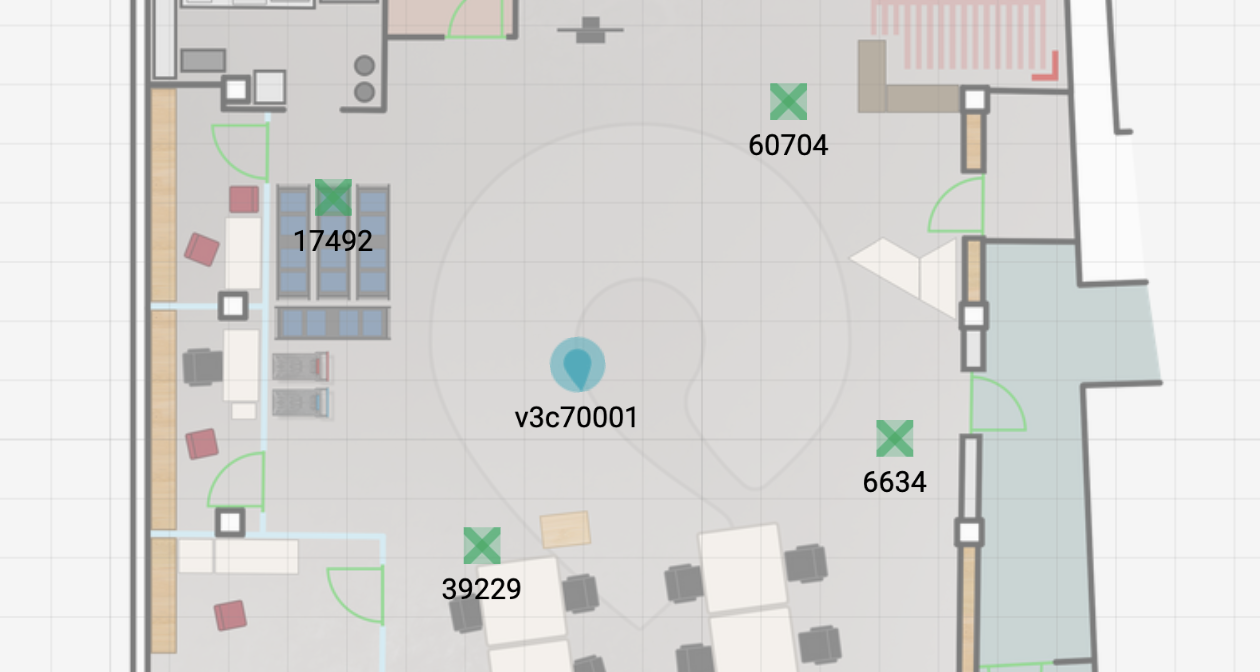
After you power all the tags on an AGV it will show up on the visualization, with a heading:
Obtaining virtual tag orientation
The orientation information can be obtained from the MQTT stream (see MQTT positioning stream data structure for more information on the packet format). In the example below, it can be seen that an orientation (roll, pitch and yaw) is now included in the packets. Notice that both the pitch and yaw are zero, this is because with 2.5D positioning only the rotation around 1 axis can be determined.
[
   {
      "version":2.1,
      "tagId":"V1",
      "timestamp":1686839831.2363758,
      "data":{
         "metrics":{
            "latency":137,
            "rates":{
               "success":9.11,
               "update":9.62
            }
         },
         "individualTagData":[
            {
               "tagId":"200001474",
               "blinkIndex":307208,
               "packetLossRate":0.14367178549629925,
               "accelerometer":[
                  [
                     -27,
                     50,
                     1011
                  ]
               ]
            }
         ],
         "anchorData":[
            {
               "tagId":"200001474",
               "anchorId":"8042",
               "rss":-95.21
            },
            {
               "tagId":"200001474",
               "anchorId":"16140",
               "rss":-83.28
            },
            {
               "tagId":"200001474",
               "anchorId":"38641",
               "rss":-81.85
            },
            {
               "tagId":"200001474",
               "anchorId":"49656",
               "rss":-100.28
            },
            {
               "tagId":"200001474",
               "anchorId":"50915",
               "rss":-83.64
            },
            {
               "tagId":"200001474",
               "anchorId":"55560",
               "rss":-85.61
            }
         ],
         "coordinates":{
            "x":8454,
            "y":-17035,
            "z":1000
         },
         "coordinatesScore":92.41,
         "orientation":{
            "roll":2.99,
            "pitch":0,
            "yaw":0
         },
         "zones":[
            {
               "name":"Operations",
               "id":"624d9b7e2228b83516c49223"
            }
         ],
         "type":1,
         "moving":false
      },
      "gatewayName":"7hU9xNeAn",
      "success":true
   }
]