UWB positioning
Our location system uses the TDOA (Time Difference of Arrival) positioning protocol. In TDOA mode, tags will periodically transmit a UWB blink, without any regard for other tags or anchors. Because the tag must only send a single UWB transmission, the positioning can happen fast and at low power. With the commonly used Aloha protocol, tags only send and never receive resulting in incredibly low power consumption, with battery lifetimes of several years.
More information on TDOA and other positioning protocols can be found on our website here.
Positioning profiles
As your application may consist of different tags located on different heights or with different filter requirements, multiple positioning profiles with different settings can be defined. Per tag a different profile can be selected. The different options per profile are explained in more detail below.
To create a positioning profile, click the New positioning profile button and give it a name (e.g. Forklift). It will inherit its initial settings from the Default profile. The Default profile is the positioning profile that will be applied to all tags that don’t have a positioning profile assigned.
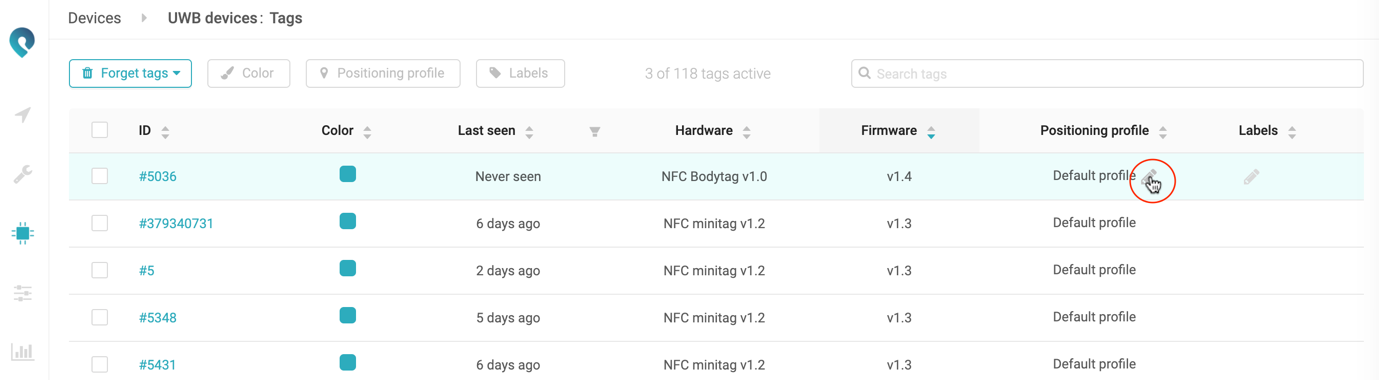
After creating a positioning profile, you can assign it to a tag by going to the Devices → Tags page and changing the positioning profile from the Default profile to the one that you want to assign:
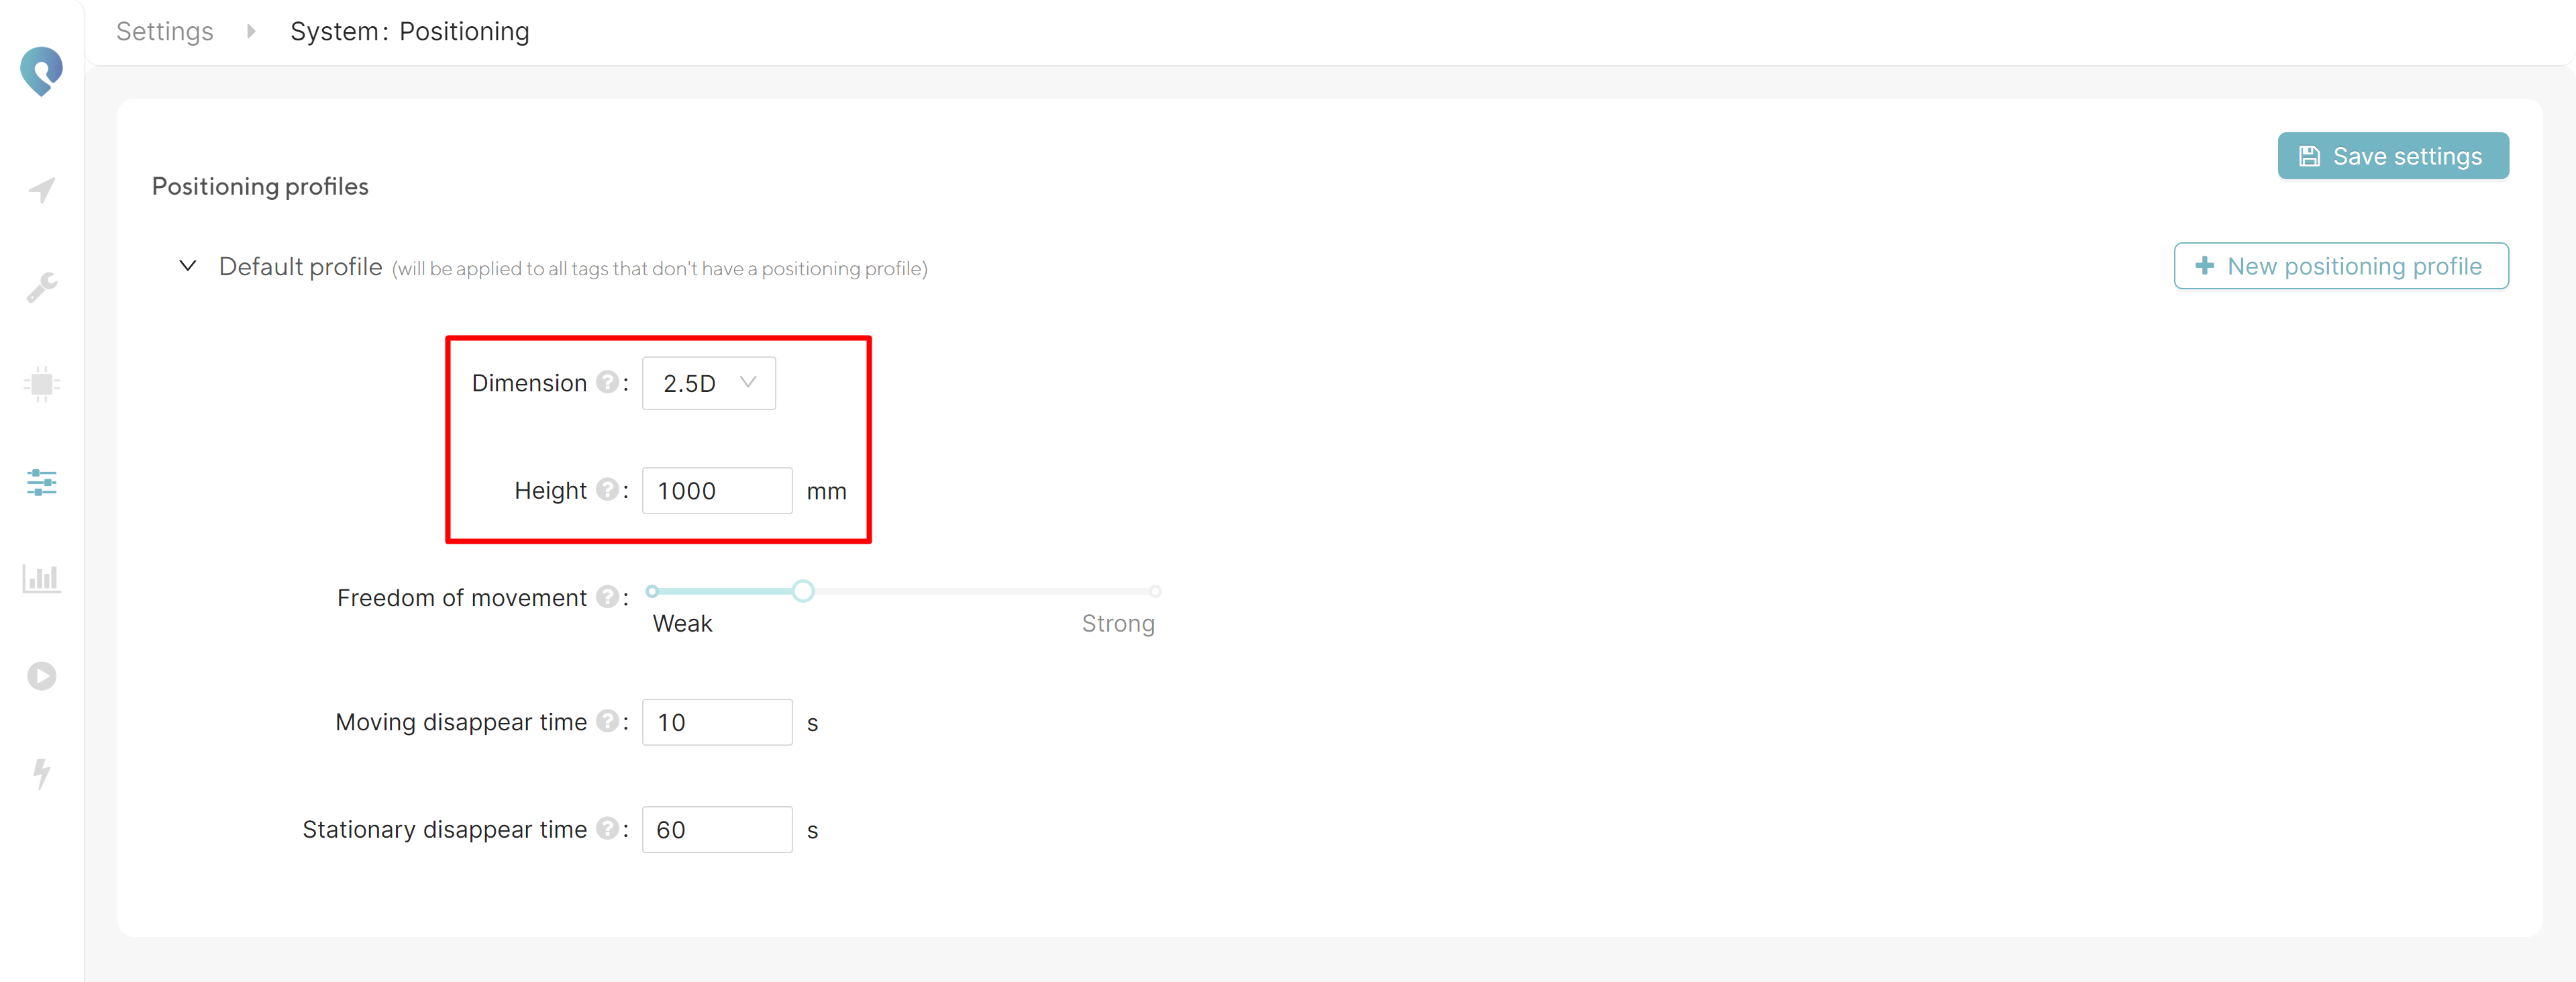
Dimension
By default, the dimension of the positioning is configured to 2.5D. This means that you will get the (x, y) position of your tag projected in a surface with fixed z-coordinate (this is parallel with the ground floor). Unlike for 2D positioning, the anchors and tags can be on different heights.
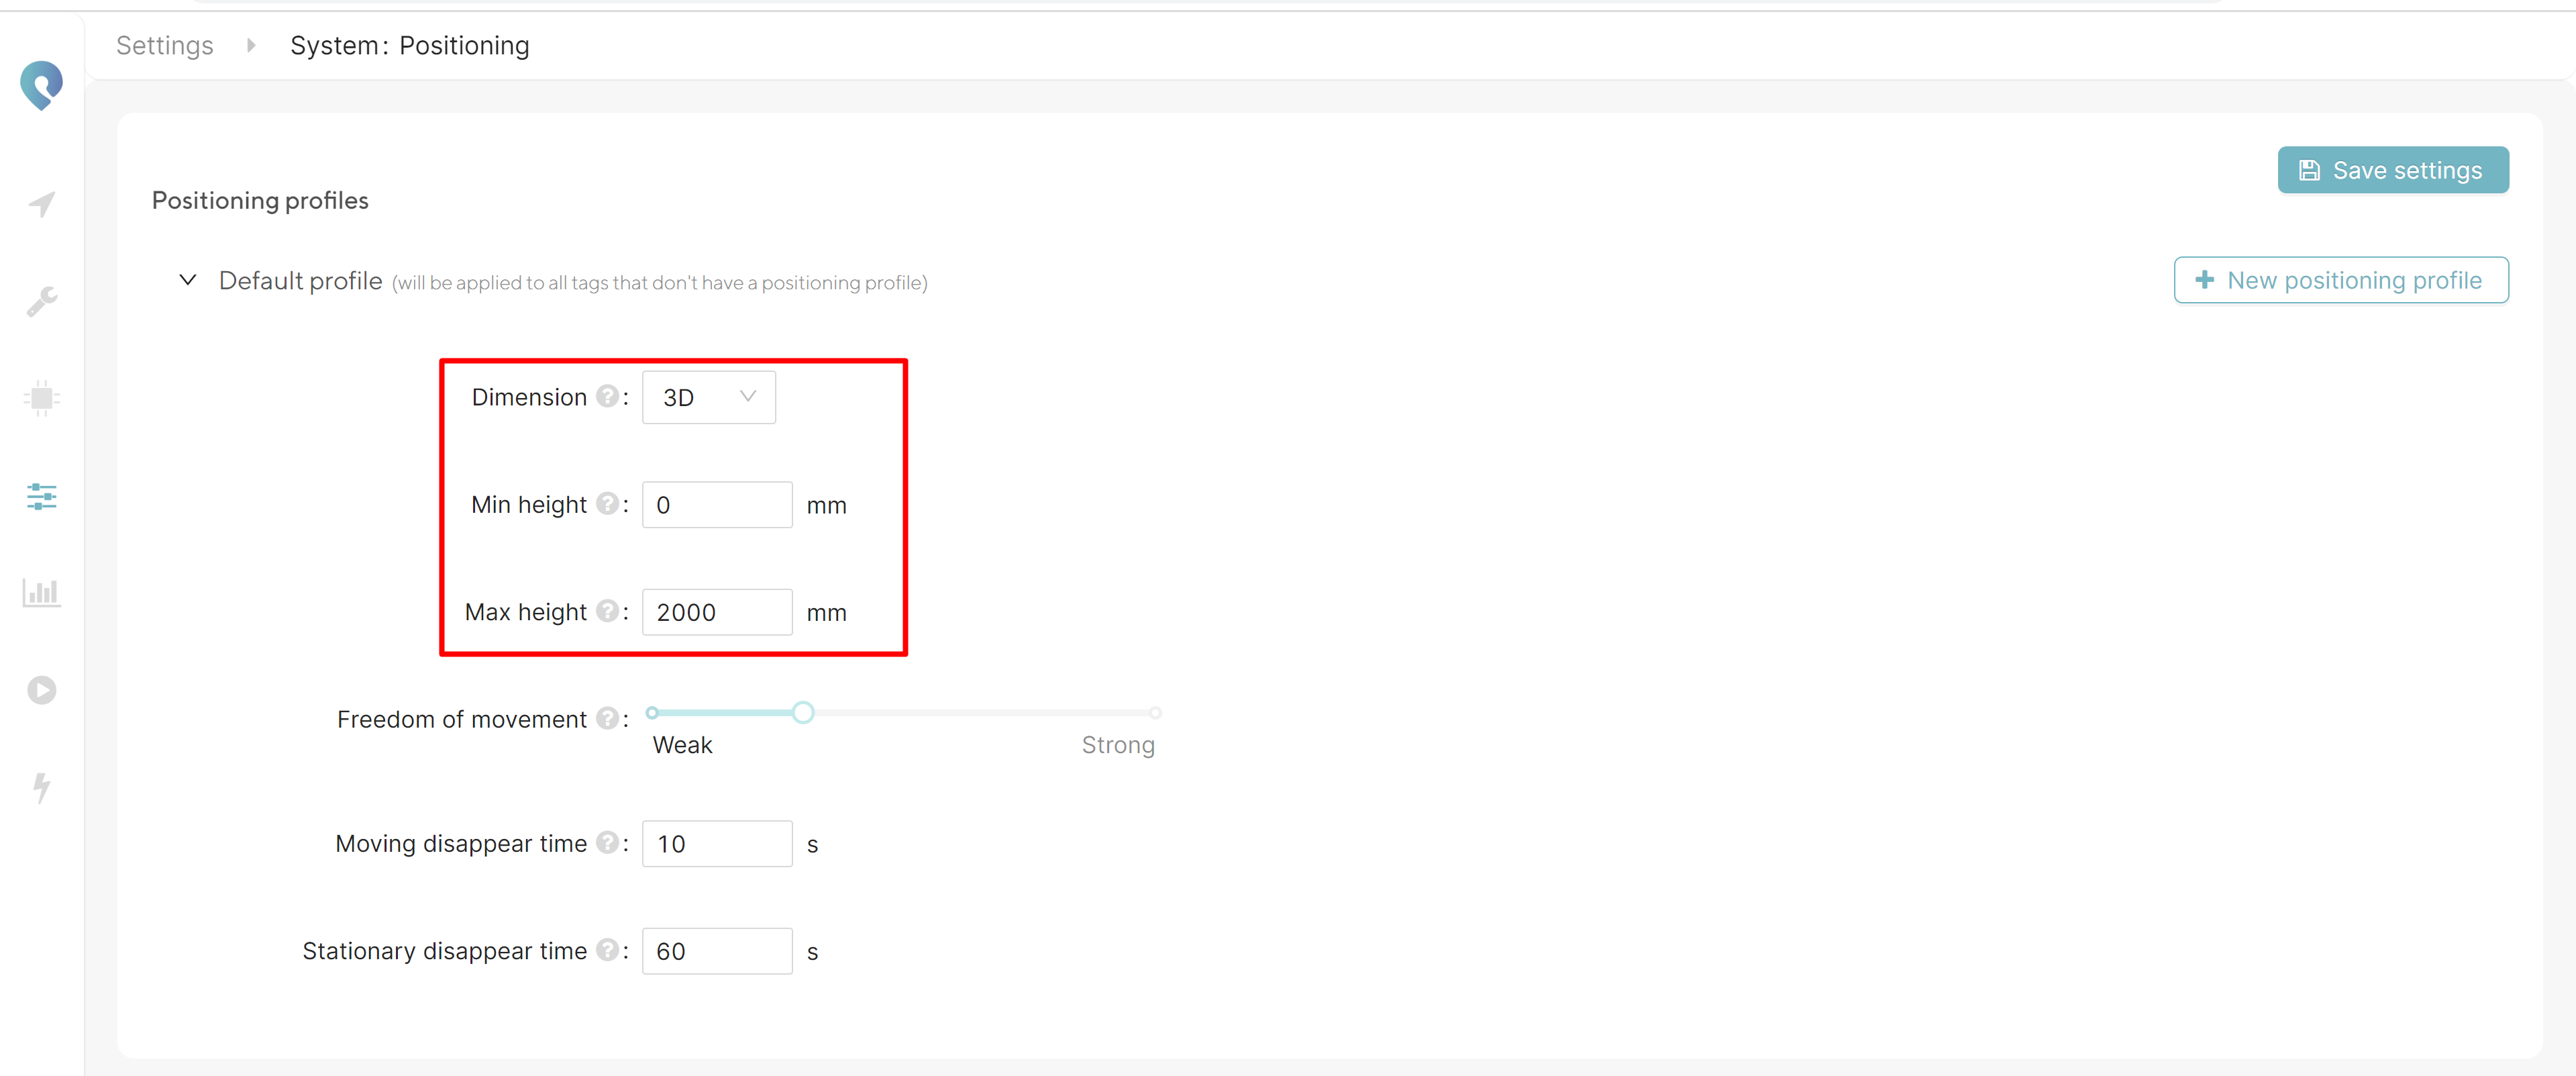
It is also possible to do a full 3D positioning, in which case you will get the (x, y, z) position of your tag. Note that 3D positioning requires a much more advanced anchor setup than 2.5D positioning. Accurate 3D positioning also requires anchors in the z-direction. See the Choosing the anchors' locations section for more info about this.
Both with 2.5D and 3D you will get an (x, y, z) output. The difference is that with 2.5D this z will be fixed to the height you specify in your positioning profile. Switching between 2.5D and 3D changes nothing to the output format itself.
We recommend 3D positioning only when positioning takes place in an open environment with sufficient distance between anchors in the z-direction.
Height (2.5D only)
The correct configuration of the height of the tags (in mm) is important for accurate positioning in 2.5D. In this field, you can fill in the fixed height above the ground at which your tag will move around.
Min height and Max height (3D only)
Here you define the min and max heights between which your tags can move in 3D. This is important for filtering out outliers.
Freedom of movement
The freedom of movement value is a setting that will influence the filtering of the Kalman estimator. For slow moving tags with a low variance in speed, a weaker freedom of movement should be selected. For fast moving tags, or tags with a high variance in speed a stronger freedom of movement needs to be selected.
The default value of the freedom of movement is 600, and should be fine for most asset tracking applications and people moving at walking speed. To get an idea of which value for freedom of movement suits your application best, the following recommendation table can be used:
Type of tracking | Advised Freedom of movement value |
|---|---|
Slow moving asset. E.g. assets moving on conveyor belt | 350 |
Assets or people moving on walking speed | 600 |
Forklifts, reachtrucks etc. | 1000 |
Slow moving car 30km/h | 3000 |
Fast moving car, race kart etc. | 5000 |
When the tag is dragging behind in the visualization after which it suddenly jumps several meters, this is probably due to the freedom of movement being too low.
Moving disappear time
With this setting you can set the time it takes for a tag to disappear from the visualization. When no more tag update is detected, you would want the tag to stop showing in the visualisation. However, after refreshing the page, or if a tag would have a low update rate, you do not want it to disappear too soon. This setting is purely visual and has not impact on the actual positioning output. The default moving disappear time is 10s.
Stationary disappear time
This setting has the same functionality as the moving disappear time, but applies to non moving tags. Since stationary tags will automatically lower their update rate1, the stationary disappear time should be higher than the moving disappear time. The default stationary disappear time is 60s.
1 Only tags with firmware version v2.0 and above can detect if they are non-moving and can be set to automatically reduce their update rates accordingly. See also Configuring the tags.